 Free shipping on orders over €199


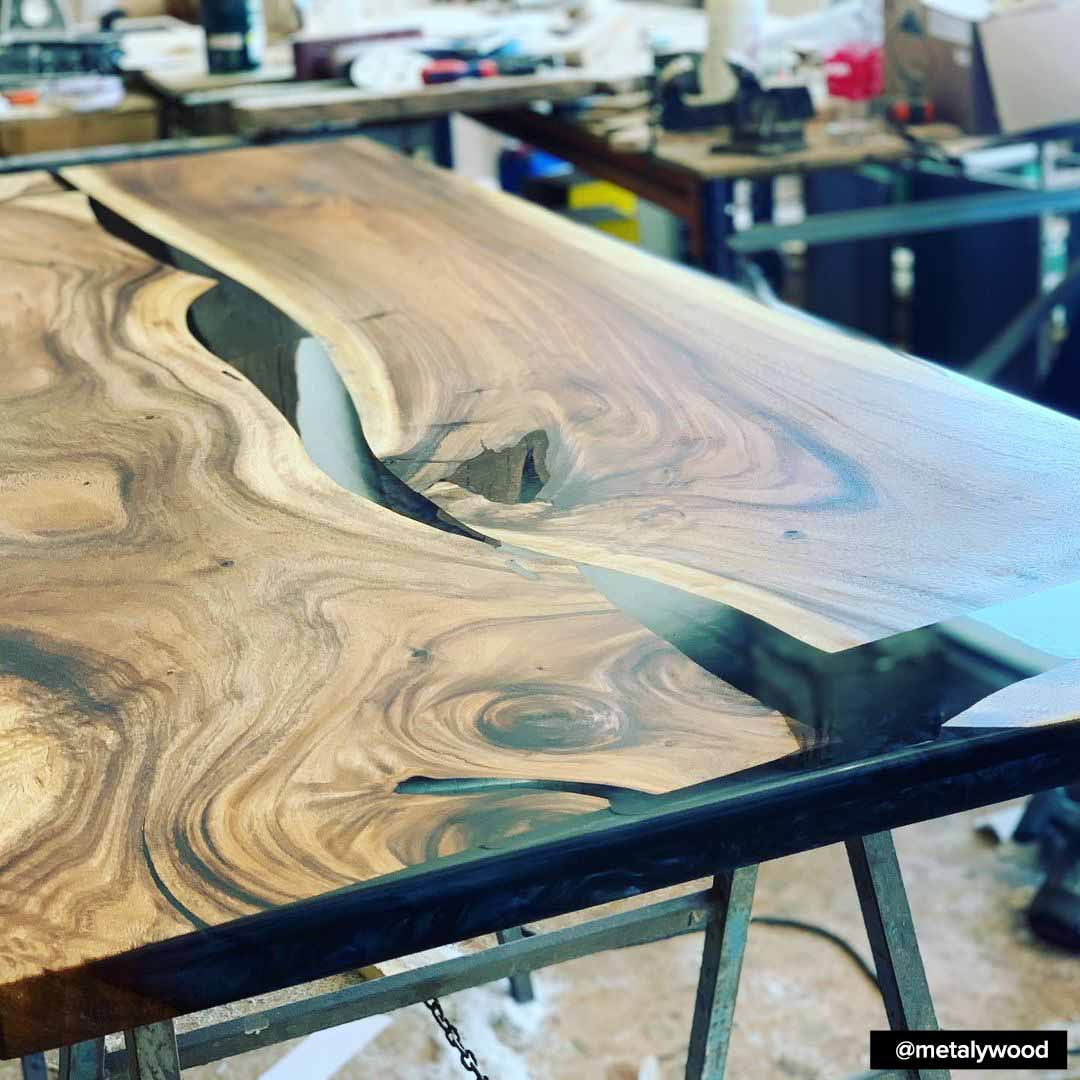
Every time you try your hand at artistic creations with epoxy resin and wood, you increasingly find yourself having to replicate some of the working techniques in a “big” way.
How to build a large table with wood and epoxy resin? Here are the main problems, guidelines and practical advice.
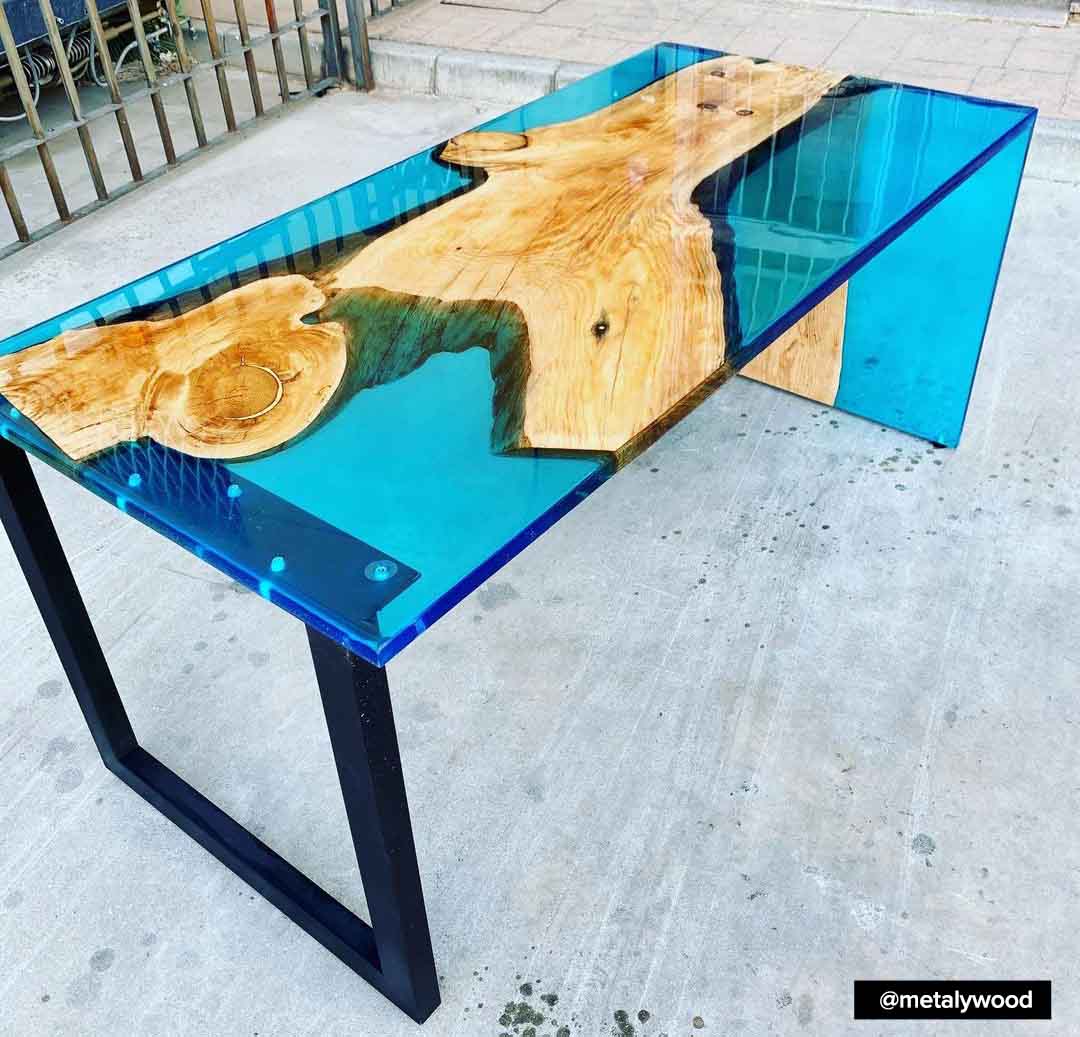
As long as you create small objects and limited surfaces, no problem; but as soon as you try to create a truly large structure, the good results of the small “test” sample disappear. In these pages we will show the main strategies to obtain the perfect creations, even in style. If you want to see the BASIC information on how to work wood and resin, you can visit the website www.resinpro.eu/BLOG, where you will find several articles on “How to build a wood and resin table” – “How to use epoxy resin? “.
If you are trying your hand for the first time in an application of this type, let’s start with the golden rule
NEVER HURRY.
The processing of the resin, although it may seem easy, hides several pitfalls (especially for beginners). With the different educational articles that you can find on www.resinpro.eu/BLOG, you can learn the dosing methods, the preparation methods and how to handle epoxy systems. Furthermore, if it’s your “first table”, we recommend you try creating a smaller version first, to get familiar with the technique (for example a shelf). This way you will avoid ruining precious tables of fine wood.
Here are the 4 Main Problems:
1. The increase in size does NOT allow you to devote the usual attention and care to all parts.
2. The increase in resin mass casting, leads to an acceleration of catalysis and development of high temperatures. This can lead to the thermal stress of the resin, which could crack or deform.
3. The increase in the catalyst temperature corresponds to an increase in the evaporation of water inside the wood, and therefore, an increase of the micro-bubbles that remain trapped in the resin.
4. The creation of a suitable formwork requires careful planning.
Let’s start from the last point (formwork and handling):
For large tables, a formwork must be used. A free work area also must be chosen (so that you can work around the formwork), and must be one that can be occupied for at least 2-3 days (in fact this is the preparation time for a standard table). The flatness must be checked before pouring the resin, in order to avoid that the table appears asymmetrical.
 Chipboard formwork
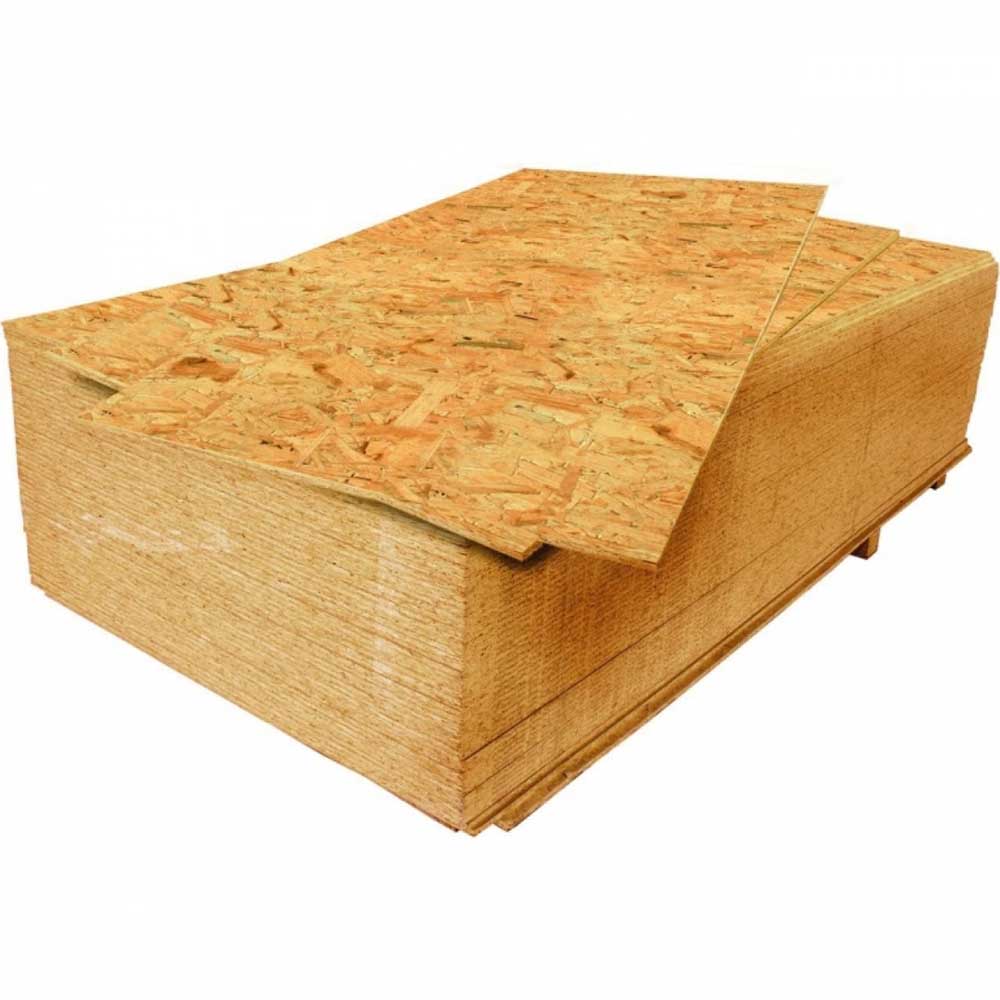 Chipboard formwork
If you want to build a large table, the cheapest (and above all, modular) solution, is to use a simple chipboard formwork (or any other types of wood) protected only in the points in contact with the resin, with the specific “SHINY SHIELD” film, in order to have a non-stick surface for the resin (which would otherwise stick to the wood).
- For the bottom: after cleaning the surface (so that it is perfectly smooth), carefully apply the SHINY SHIELD film, applying light pressure with a spatula to prevent air bubbles or irregularities.
- For the edges: chipboard boards attached using I-GUM silicone paste (or even hot glue), then cover them with a continuous layer of SHINY SHIELD film (the less cuts / joints you make in the film, the less likely you will have leaks).
- Then place the boards on the surface (already covered by the film), and pass all the joints with the I-GUM paste (passing it with a finger, you will give it a rounded shape that will become the lower edge of the table), in this way the resin cannot stick to anything. Finally, seal all the joints with silicone paste (I-GUM – Rubber paste) for greater safety. This way you create an economic formwork (chipboard + silicone) that you can then cut and “modify”, according to the size of the table.
Once the resin is solidified, you can simply dismantle the formwork and extract the table.
The SHINY SHIELD film is reusable and also resists any thermal spikes of the resin (up to over 100° C) so if well designed, your formwork can be reused!
 For point 1 (impossibility to take care of all the details at the same time) the only possible solution is to prepare the whole procedure in an organic way so that, at the time of casting, you only have to concentrate on the aesthetics of the product.
Here are the most common setbacks that happen immediately after casting (and that make us waste time and concentration):
1. The formwork is not sealed and leaks resin, which drips to the ground. To avoid this problem, just put the wood in the formwork FIRST, and then make a test casting of a few mm thickness, on the edges and joints (critical points). This way we will immediately know if the formwork is leaking and, in case, the possibility to eliminate any leaks with the I-GUM silicone paste.
2. Once the casting is done, we realize that there are impurities. In order to avoid having to “hunt” splinters, hair or crumbs, before casting, the formwork and the wood and all the tools must be cleaned with an electrostatic cloth (like swiffer). Eventually filter the resin through a strainer (or even nylon socks!)
3. Dust particles or insects settle on the surface. In this case it is good to clean the work area with a vacuum cleaner and then spread a sheet of transparent film to protect the surface (such as the one used to protect furniture when repainting the walls)
In this way you will be able to focus only on what is important, which means the aesthetic rendering of the casting!
Difficulty in managing large thicknesses (overheating, multiple casting, air bubbles)
 As we have seen from previous articles, the overheating of the resin, the acceleration of catalysis and the consequent incorporation of micro-bubbles, are unfortunately a chemical phenomena that derive from the so-called mass effect.
How to make a large table in wood and epoxy resin avoiding this “mass effect”?
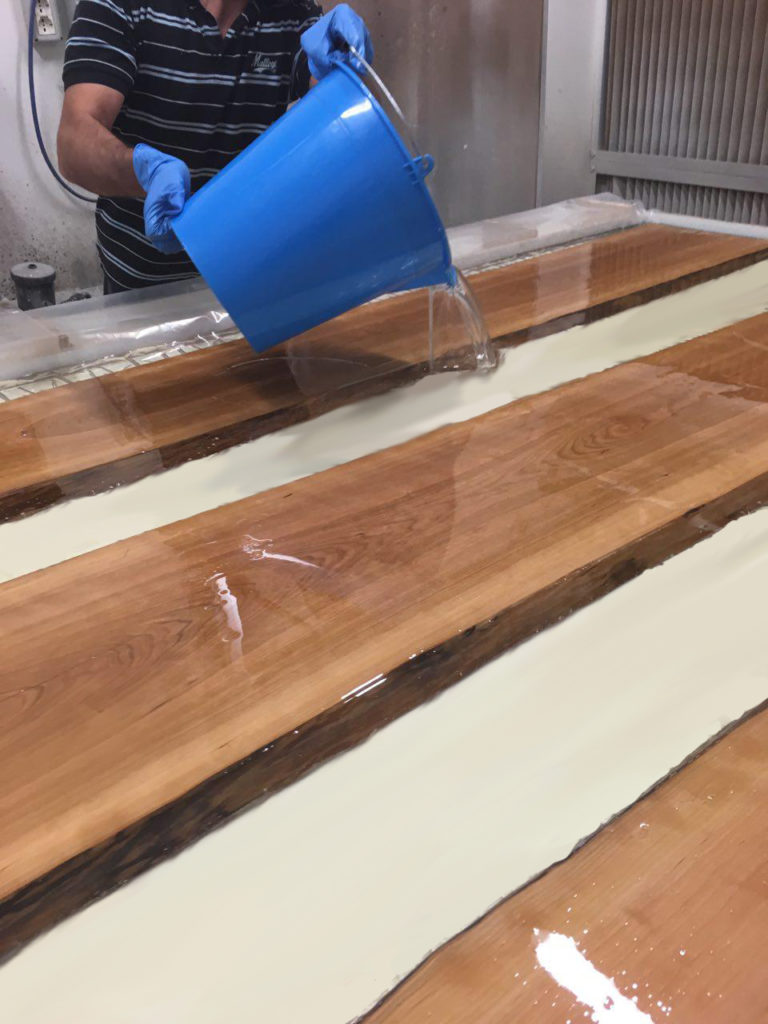
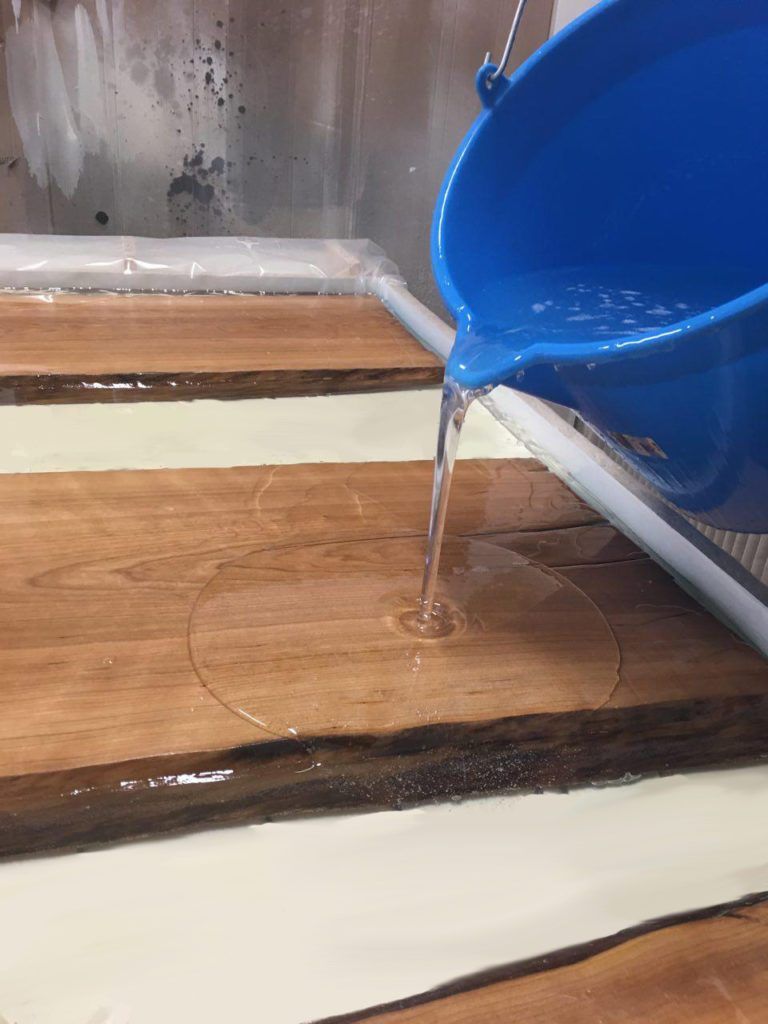
You need to know that, the greater the quantity of resin casted (therefore its thickness), the greater the temperature developed. For example, by using the classic resins on the market, a SINGLE casting of 4 cm thick would lead to the overheating of the resin by more than 100°C, which would deform the formwork and would “boil” the resin itself. Basically … a table to throw away!!!
The solution (so far), is to make castings of a maximum of 2 cm in thickness, a few hours apart. The disadvantage (in addition to the extended processing times) is that for each casting, we must make sure that there are no impurities or bubbles.
If, on the other hand, you purchased EPOXYTABLE resin, you can apply all the resin in ONE SINGLE CASTING OF 6 CM, thanks to the innovative formula, with high UV resistance and mechanical resistance.