Free shipping on orders over €199


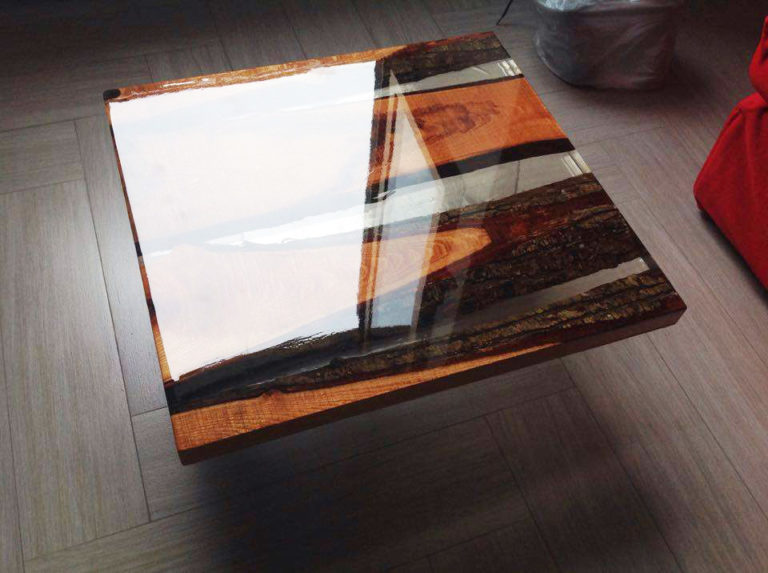
How to build a wood and resin table
In this step-by-step procedure we will learn the most famous application that combines an innovative material (epoxy resin) and a traditional one (wood). This application allows the creation of amazing artifacts and can potentially be performed with any material (fabrics, caps, metal, etc.)
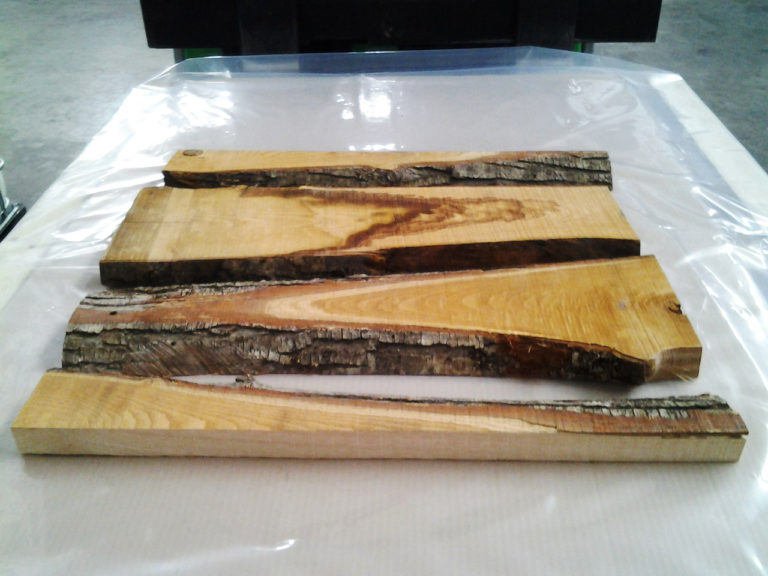
1) Once you have chosen the wood you like the most (with a thickness of 2-3 cm [0,78”-1,18”]), sand it with abrasive paper. The finer the grain (300-400), the more the surface will be “closed”, reducing the absorption of the resin and therefore preserving more of the natural colour of wood. On the other hand, if the grain is “coarse” (60-80), the shade of the wood will be darker (according to your taste!)
2) Cut the piece into 4 parts (or as many as you want), then blow it with compressed air (if no soft brush is available) in order to remove dust and sawdust.
3) Let the wood dry in the sun (or during the cold season near a radiator) for 24-48 hours. The wood must avoid contact with water for at least 24 hours.
4) NOW WE ARE READY to start!
5) Create a wooden frame (it will be the shape of the table) 3-4 cm [1,18”-1,57”] high. This frame will be used only as containment and afterwards it will be removed, so don’t waste too much time on it.
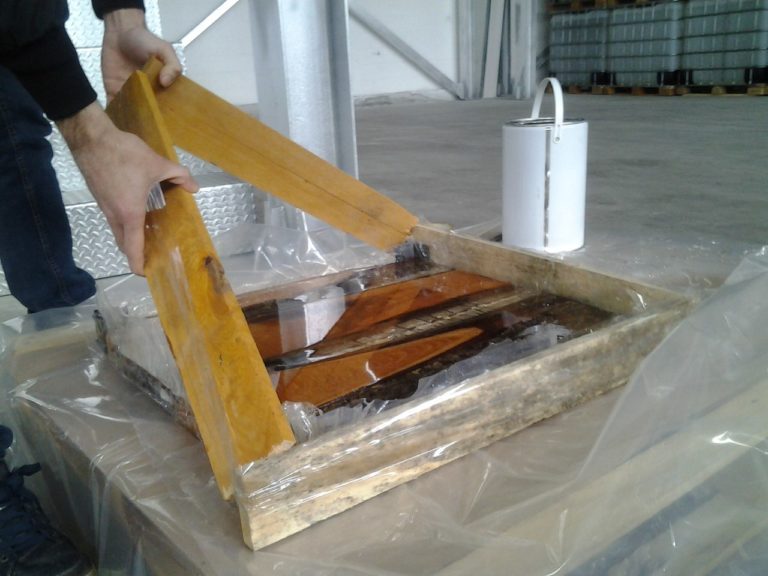
6) Get a common packaging nylon or polyethylene sheet and place it inside the frame, making the edges adhere as much as possible (resin does not stick to polyethylene, so it will be easy to remove the table from the mould once it has hardened). You can make use of a double-sided adhesive tape for this. The resin will take on the shape of the nylon, so it’s worth being precise! Place everything on a perfectly flat work surface, making sure the nylon does not have any lacerations (in such case, put a piece of adhesive tape on it).
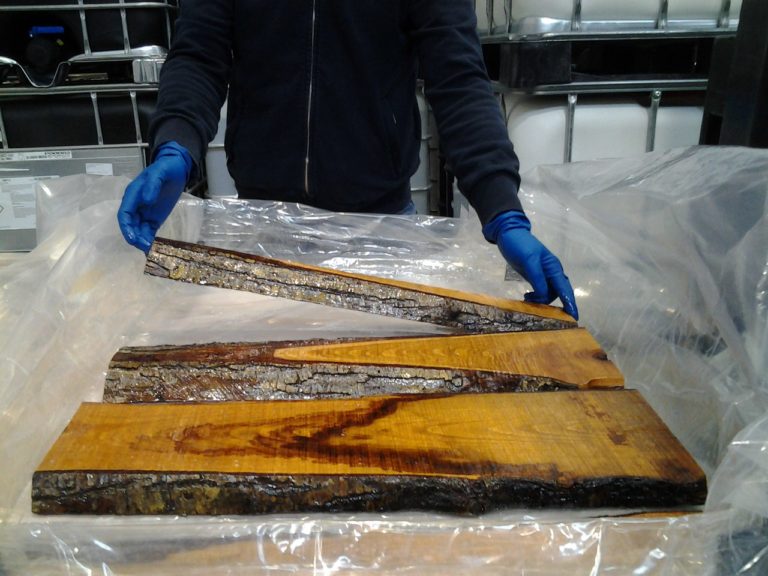
7) Position the pieces of wood inside the mould as you prefer (you can also incorporate other objects, such as stones and pieces of metal).
8) Mix a limited quantity of resin (A + B) (for example 300 gr [0,66 lb]) and spread it generously on all sides of the wood with a brush. Then turn them on the opposite side (obviously by using gloves) and keep on brushing. Make sure to perfectly soak the most irregular parts (such as the bark). This procedure serves to “seal” the wood, so that when you will dip it in resin, there will be no appearance of bubbles that may be embedded in the resin. After this operation, place the resin-coated pieces in their final position inside the mould. Wait until hardening (minimum 8 hours).
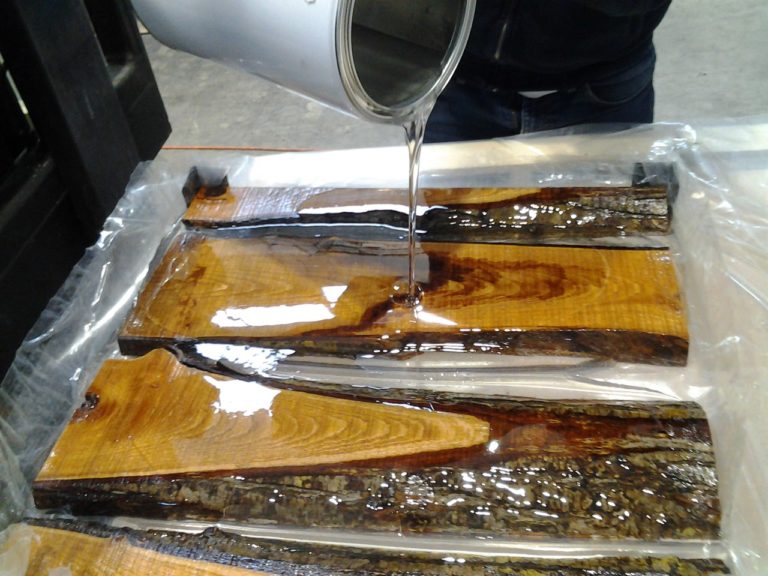
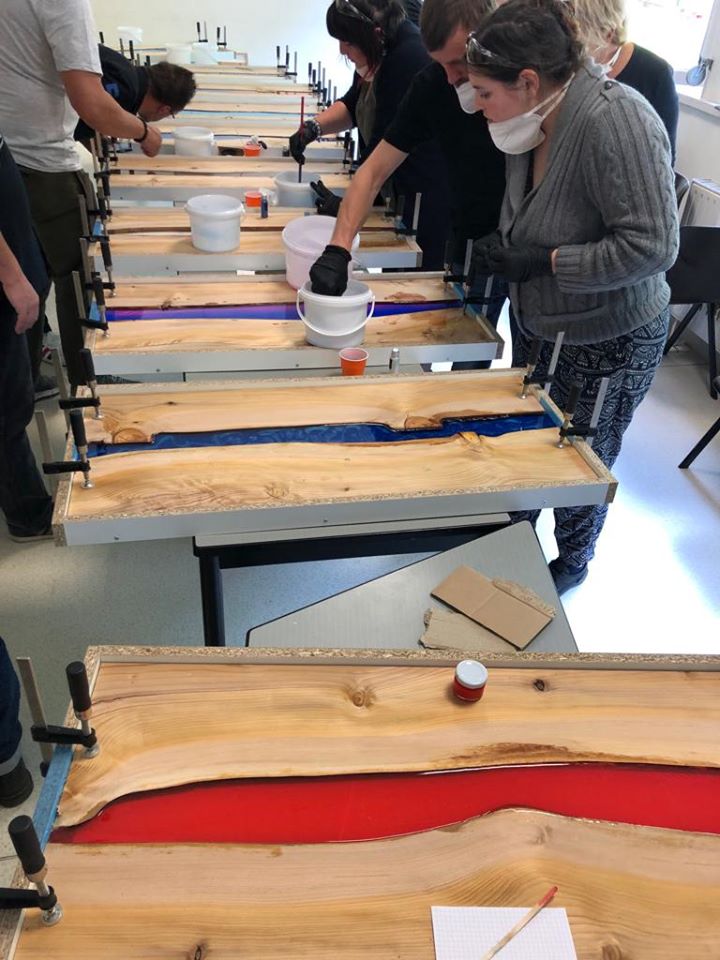
9) Prepare the remaining resin, mix it carefully in a large container and let it rest (allowing the air bubbles to escape) for 10-15 min.
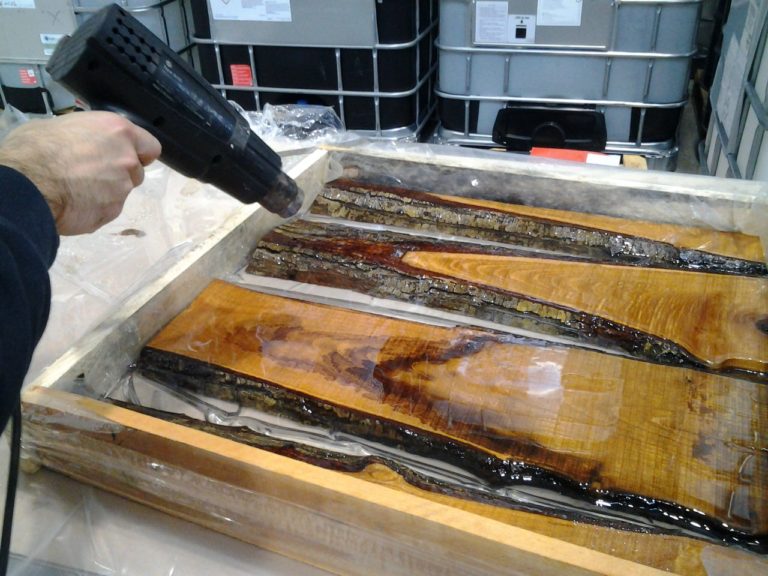
10) Evenly cast the resin up to the desired level. Equip yourself with a hair dryer (or rather a blow dryer) and direct it over the bubbles on the surface to make them burst. In 24 hours, the table is ready to be removed from the mould!
Sidenotes
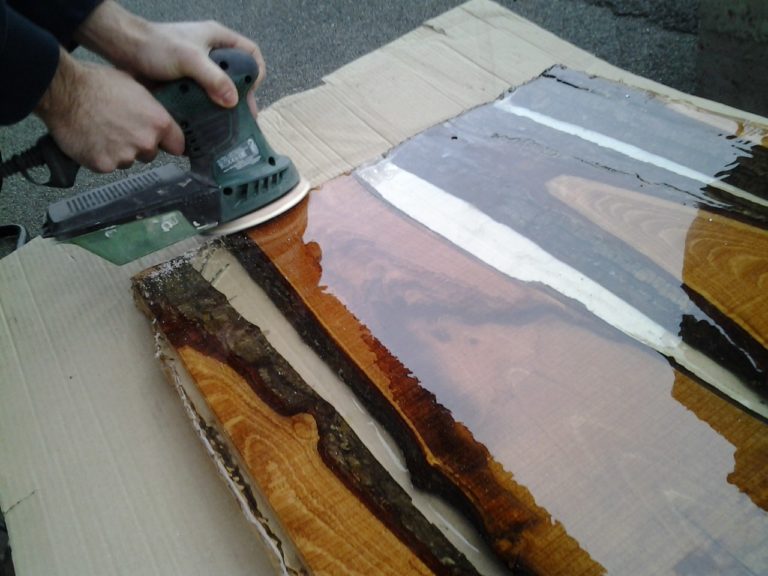
Nylon is the cheapest solution, but it creates a more irregular surface. To perfectly square the table, you can use sanding paper (or a hacksaw). After the abrading of all irregular parts, the surface will be opaque, but don’t worry! Just apply a thin layer of resin with a brush to make it transparent again!
If instead you decide you want “perfection”, you need to purchase a plexiglass tub as a container. In this way, the resulting table will be already perfect and the procedure will be much faster.
Resin consumption
If the table was made of pure resin (60x60x4), more than 10 kg [22,04 lb] of resin would be required. But since half of the volume is taken up by wood, 6 kg [13,22 lb] were enough.
This was the first table I’ve made, and I think the result was quite good for a beginner (you tell me!), so I guess anyone can be able to do it, as long as you pay close attention to the preparation of the mould and if you are equipped with all the necessary tools. I will soon create another one! Good work!