 Free shipping on orders over €199
 Shipping Tracking!


 Google
 Facebook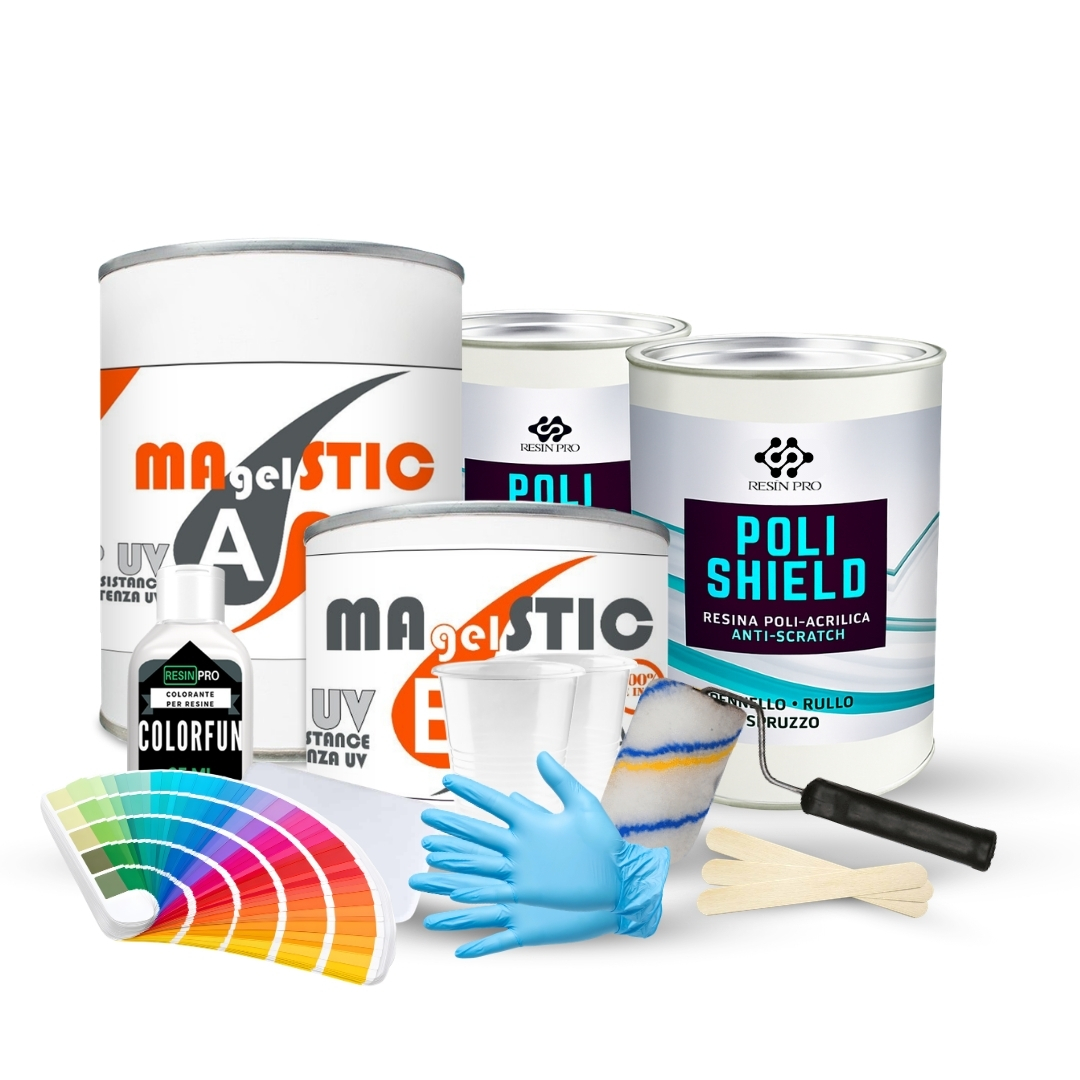
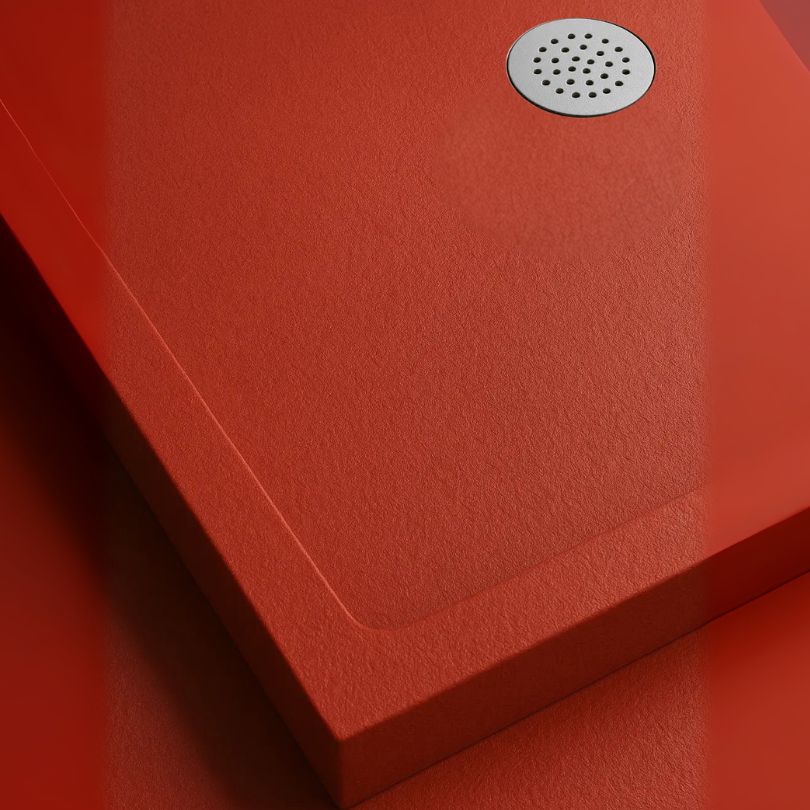
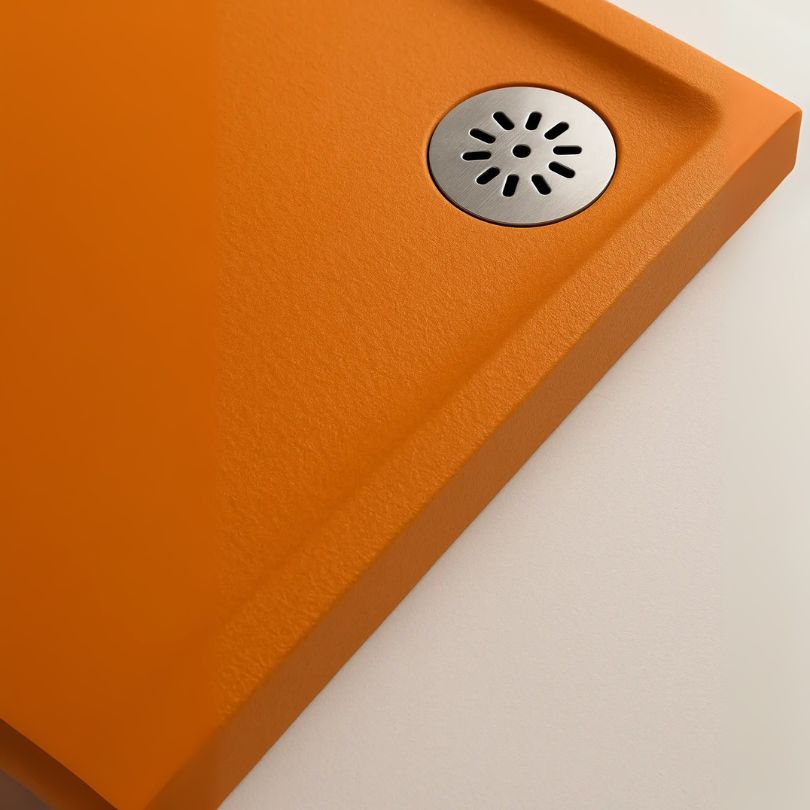
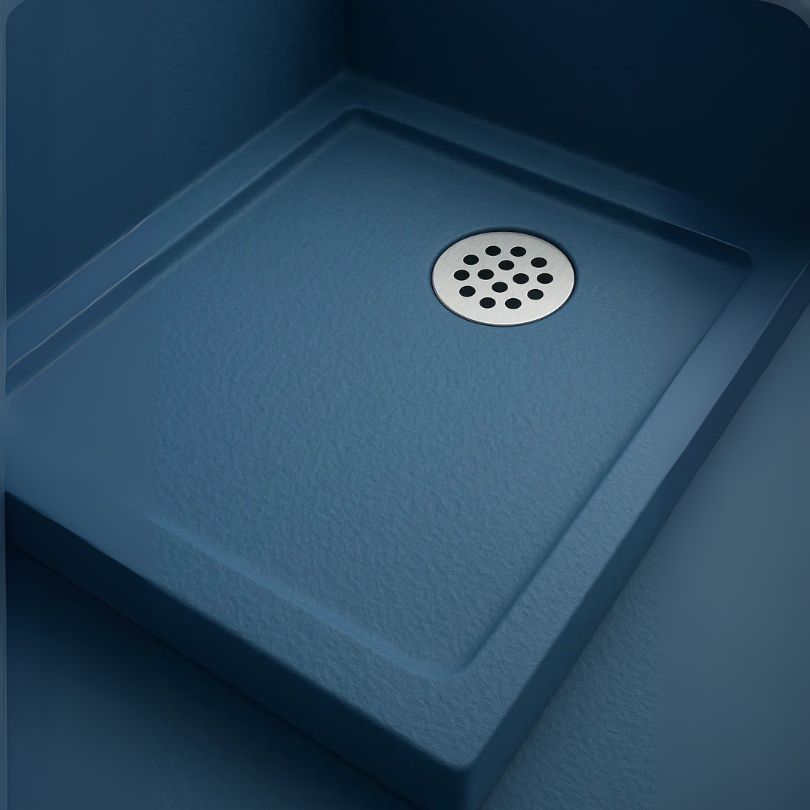
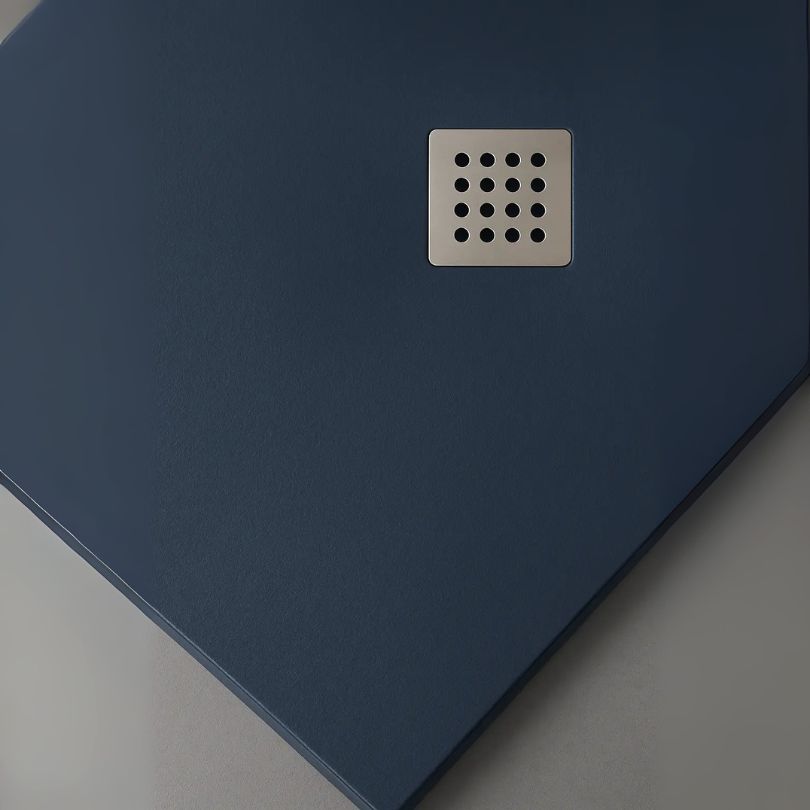
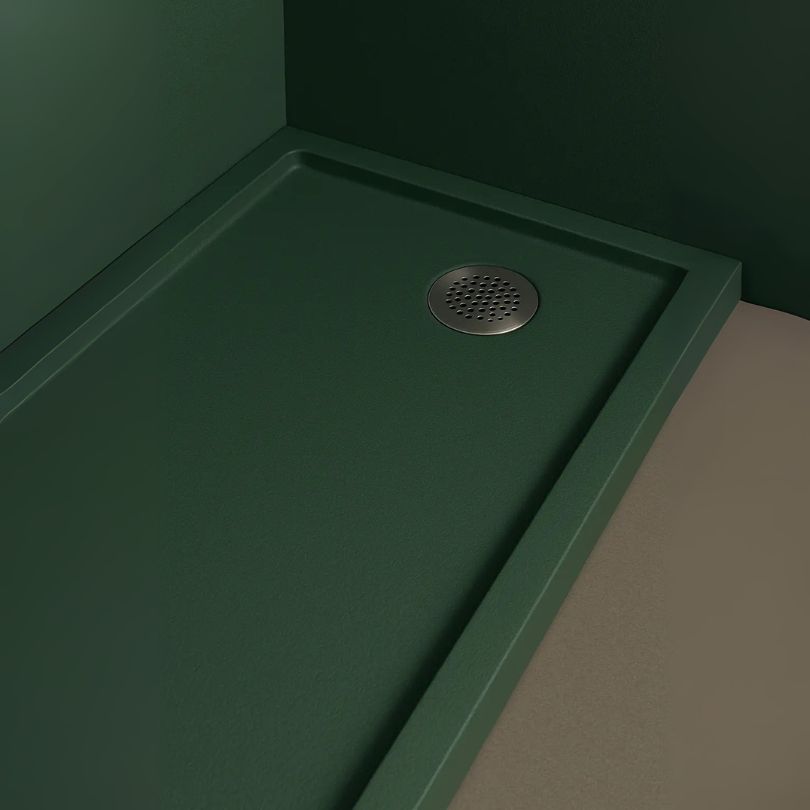
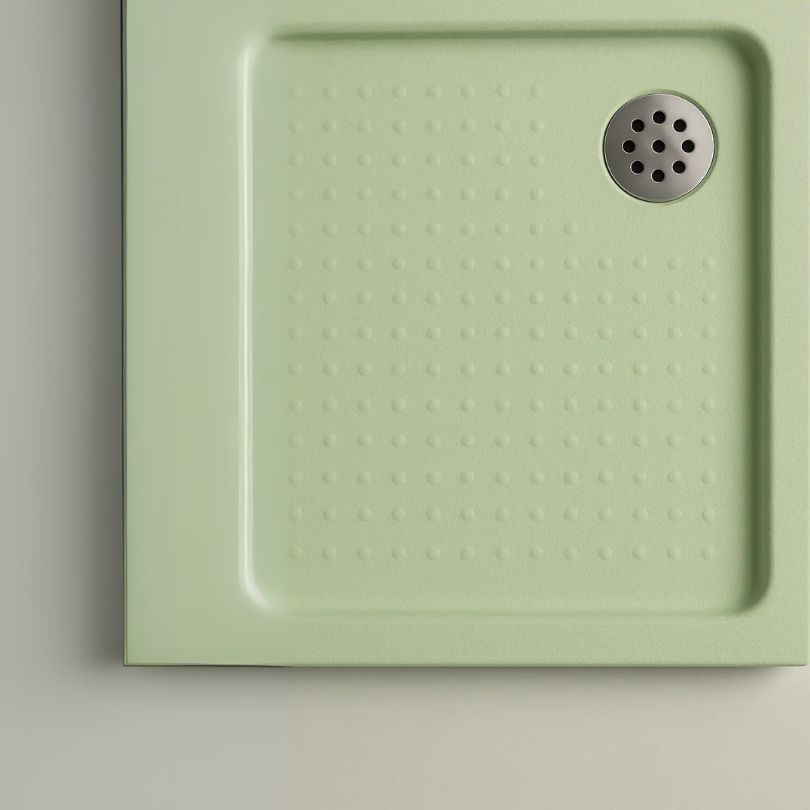
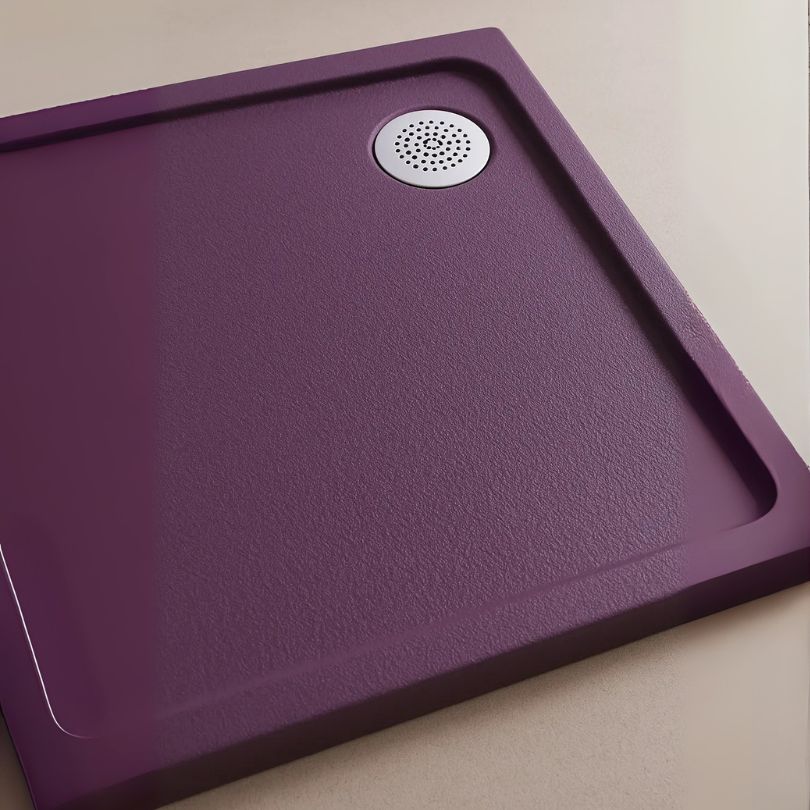
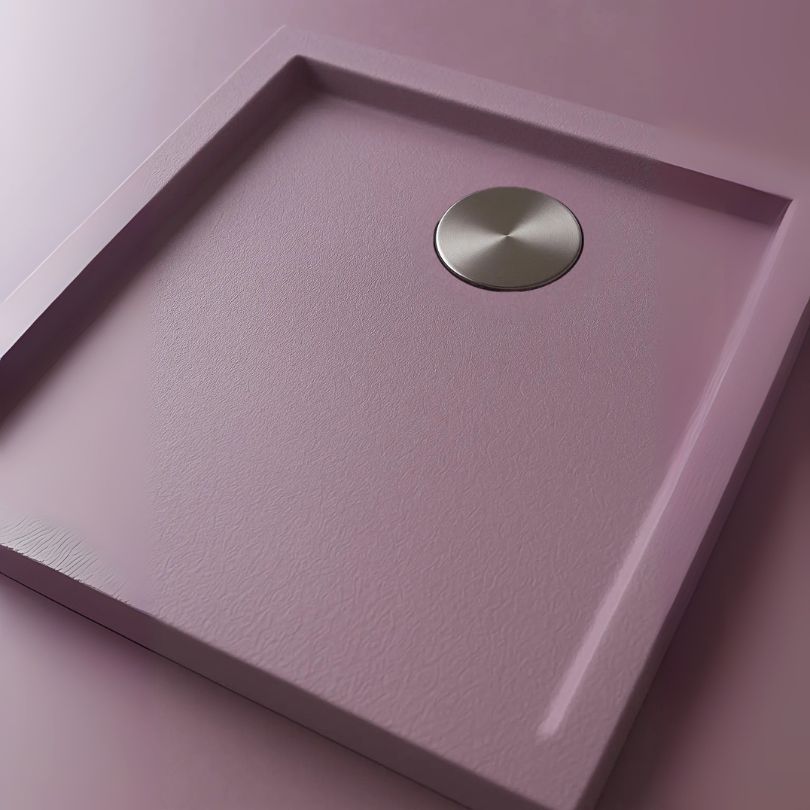
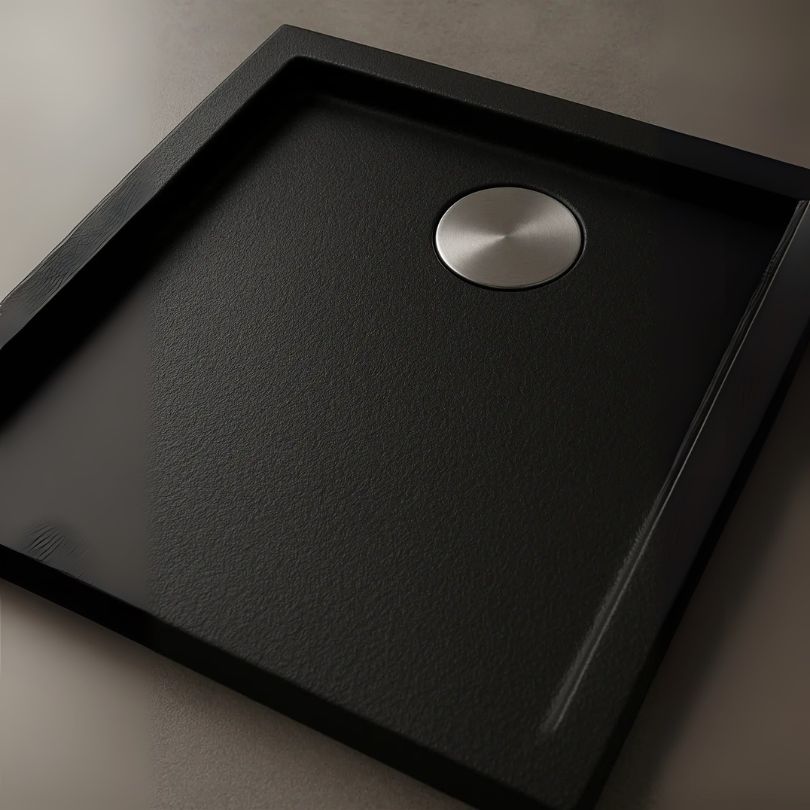
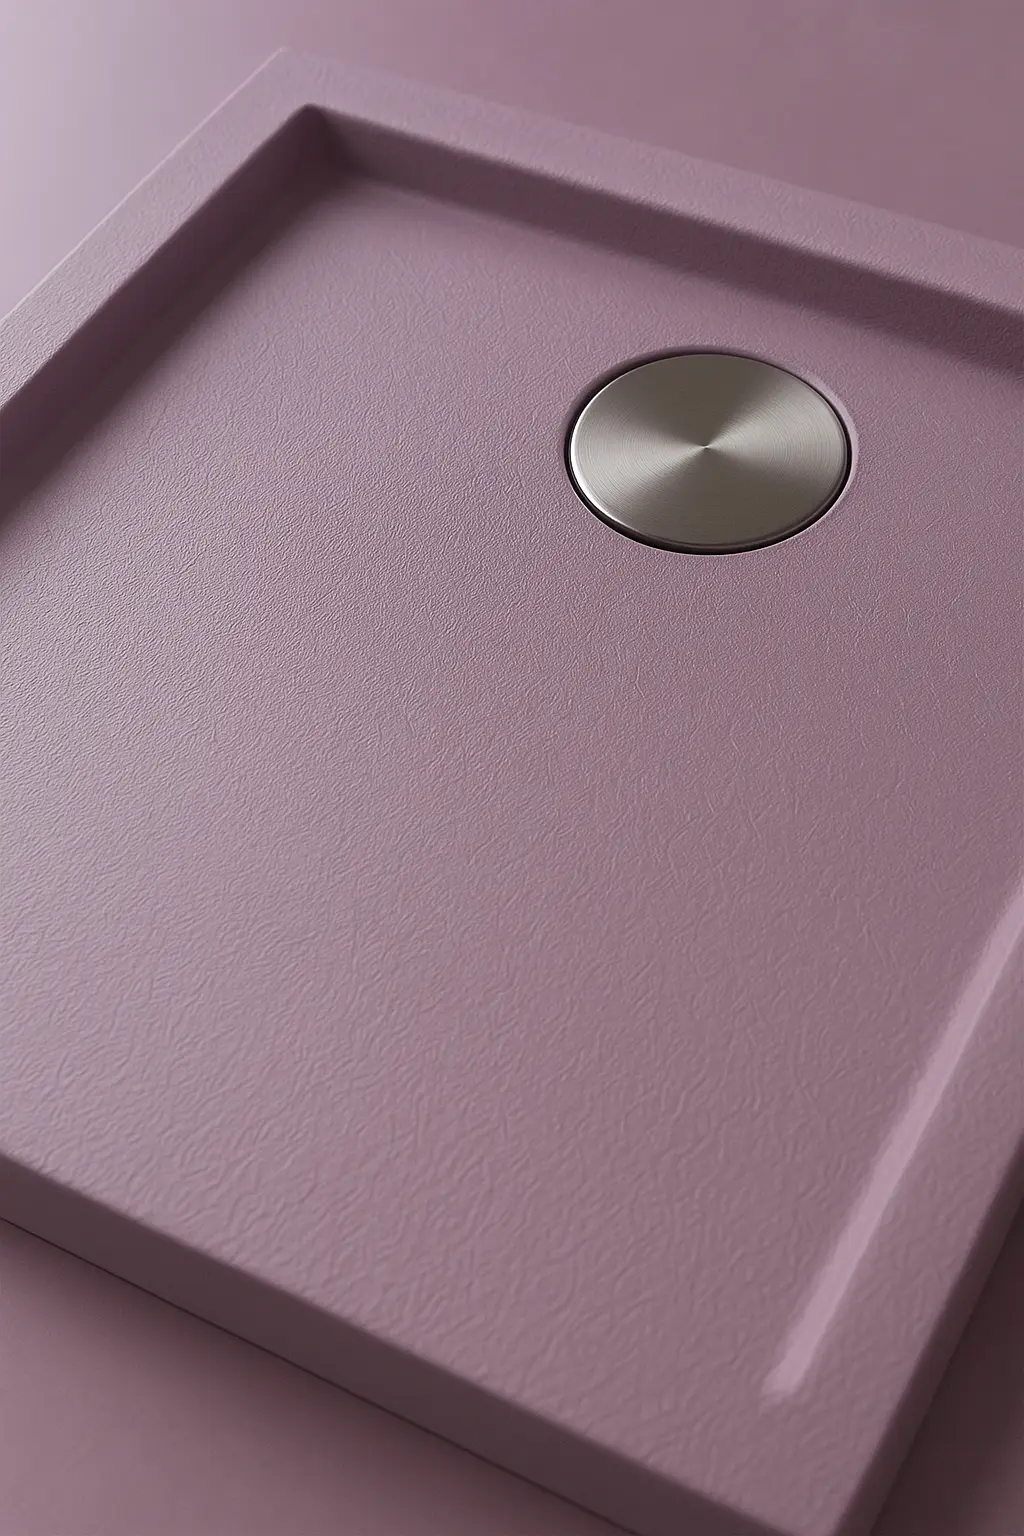
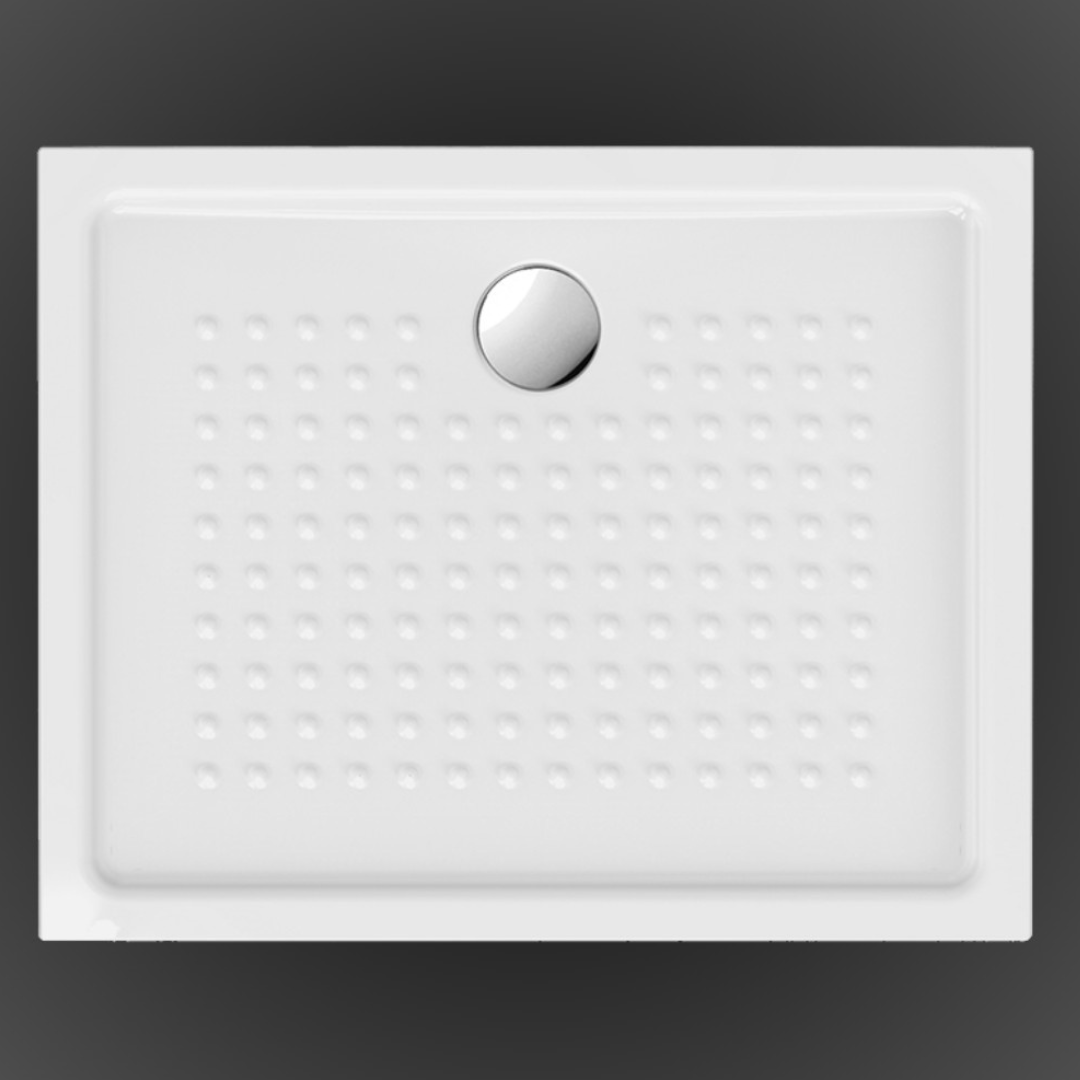
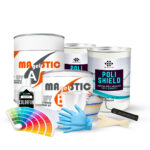
ShowerFix Kit – Shower Tray & Bathtub Repair and Restoration Kit
 Available, ready for shipping
 Order now to receive your product between
Thursday 16 July
and
Tuesday 21 July.
Order now to receive your product between
Thursday 16 July
and
Tuesday 21 July.
 Shipping €13.90 - Free for orders over €199
€22,99
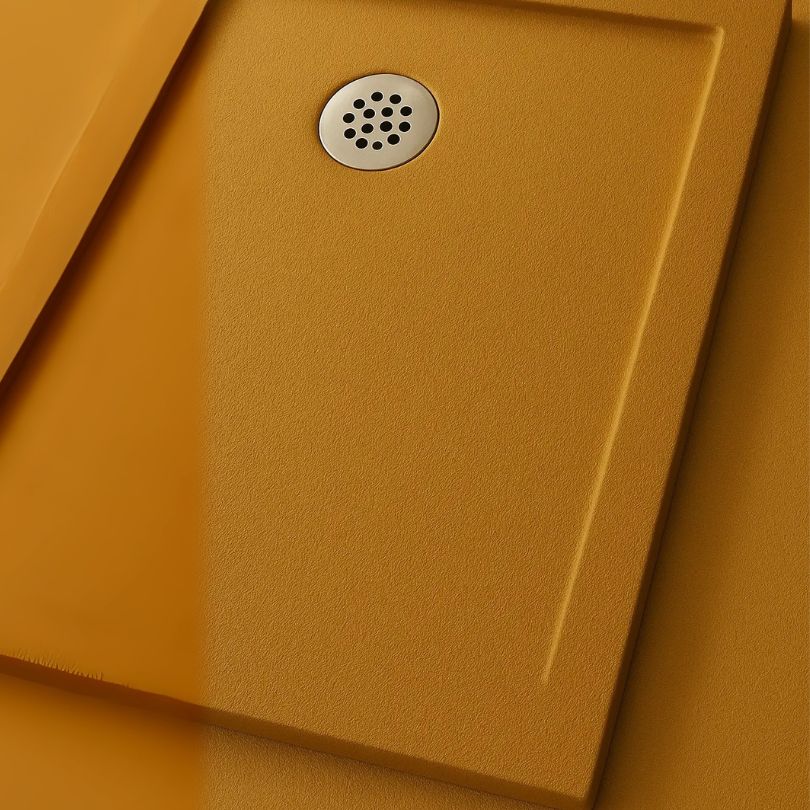
🎨 Select a color:
✅ Fast-curing epoxy putty – 150 g
✅ Topcoat (gloss or satin) – 100 ml
✅ Color pigment of choice – 25 ml
✅ 2 pairs of protective gloves
✅ 1 spatula for putty application
✅ 2 mixing sticks and 1 mixing container
✅ Roller for applying topcoat
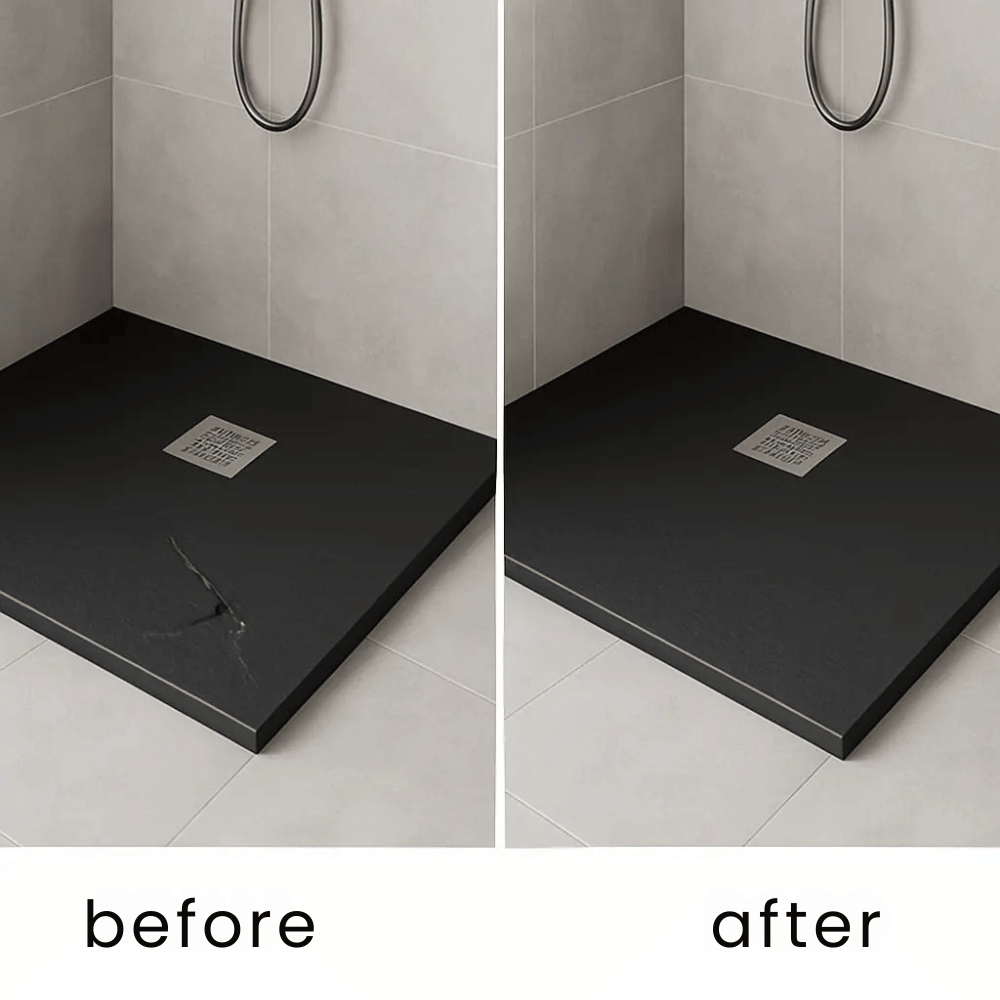
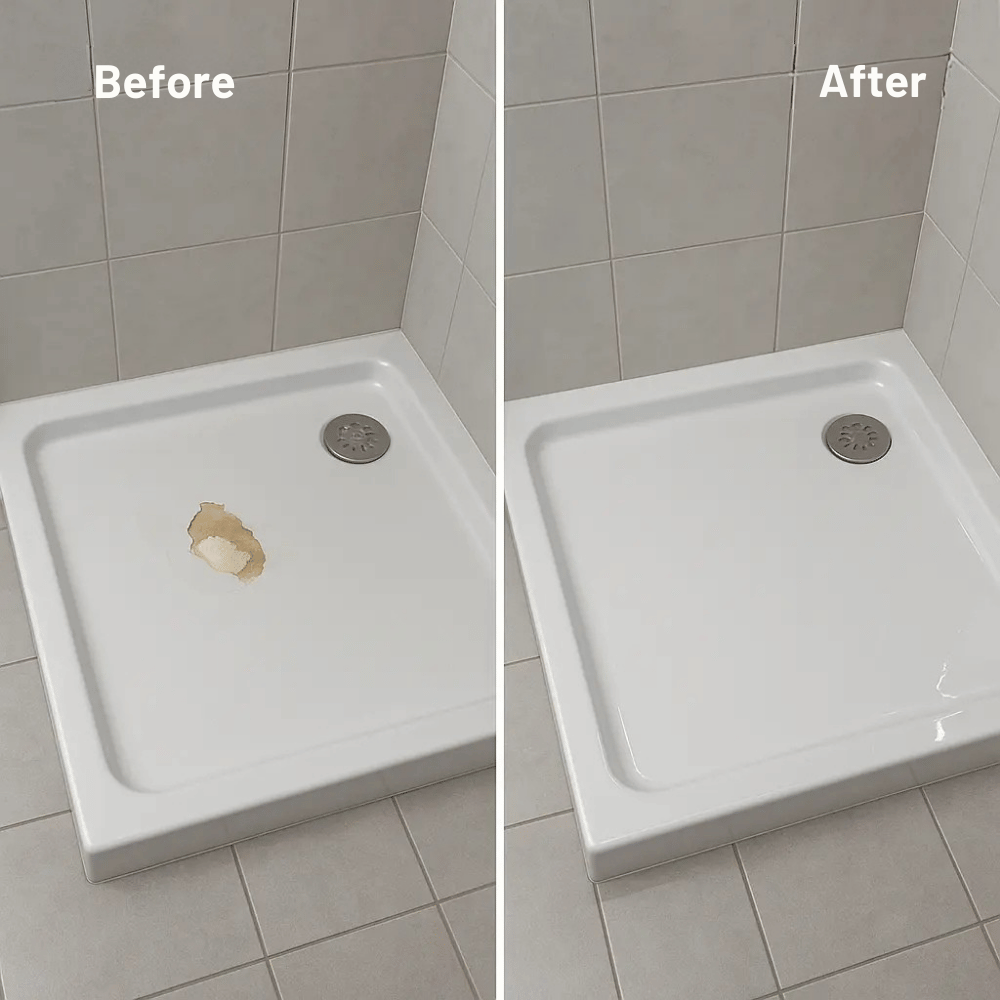
The Shower Fix Kit is intended only for the repair of localized damage on shower trays. It is not suitable for a complete color change. For this type of application, please purchase Prolux https://www.resinpro.it/product/prolux/
Description
Description
Two-component moldable colored filler + scratch-resistant protective coating
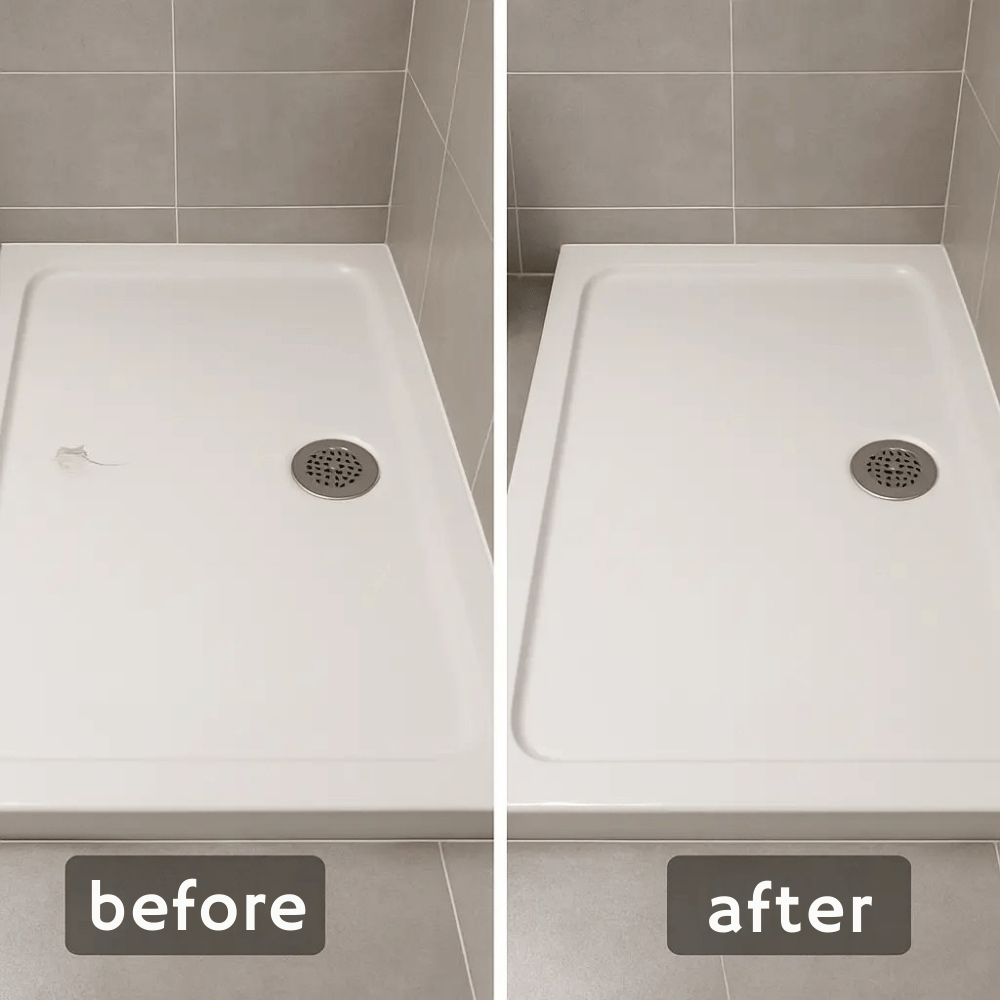
How to use
Preparation:
Make sure the surface is clean and dry.
Mixing the filler:
Open the container with the two pre-measured components.
Add the colorant and mix for at least 2 minutes.
For a more intense shade, add more colorant and continue mixing.
Applying the filler:
Apply with a spatula within 10–15 minutes.
The filler does not drip, stays in place, and adapts to the shape of the shower tray.
Optional sanding:
Wait at least 4 hours, then sand small imperfections with sandpaper.
Transparent protective finish:
On a dry and sanded surface, apply the transparent protective coating “Polifinish” (glossy or matte) using a roller.
- Glossy version: mix components A+B and, once an emulsion is obtained, add 30 g of water.
- Matte version: mix components A+B and, once an emulsion is obtained, add 10 g of water.
Coverage: up to 1 m² (standard shower tray size).
The shower can be used after 8–12 hours from application
1
Surface Preparation
- Drying: Ensure the shower tray is completely dry.
- Cleaning: Thoroughly clean the area to be repaired, removing dirt, grease, and soap residue.
- Inspection: Check that there are no loose or crumbling parts.
⚠️ Important: Proper preparation is crucial for the durability of the repair. Do not skip this step!
2
Sealant Mixing
- Opening: Open the container with the two pre-measured components.
- Coloring: Add the provided coloring agent.
- Mixing: Mix thoroughly for at least 2 minutes until you obtain a homogeneous compound.
- Shade: For a more intense shade, add more coloring agent and continue mixing.
Mixing Time
Minimum 2 minutes
Homogeneity
Uniform compound without streaks
3
Sealant Application
- Tool: Use the provided spatula.
- Time: Apply the sealant within 10–15 minutes of mixing.
- Viscosity: The product does not drip and stays in place, adapting to the shape of the shower tray.
- Leveling: Carefully level the surface.
⏱️ Time Limit: The sealant must be applied within 10-15 minutes of mixing. After this time, it begins to harden!
4
Sanding (if needed)
- Waiting: Wait at least 4 hours before sanding.
- Working: Sand any imperfections with fine sandpaper.
- Cleaning: Remove residual dust.
5
Polifinish Transparent Protective Coating
Preparation
- Apply only on a dry and smooth surface.
- Mix the two components until you obtain a uniform emulsion.
Glossy Version
💧
Water: 30 g
For a shiny, reflective finish
Matte Version
💧
Water: 10 g
For a soft, non-reflective finish
Application
- Mix and apply evenly with a roller.
- Coverage: Up to 1 m².
6
Usage Times
The shower can be used after 8–12 hours from the final application.
This waiting time is essential to allow the product to polymerize completely and ensure maximum resistance to water and wear.
Need Assistance?
If you have doubts or problems, contact our technical support. We are at your complete disposal!
📞
Phone
333 481 9266
💬
Also available on WhatsApp
333 481 9266
Do not hesitate to contact us for any questions, clarifications, or problems during the repair. Our technical team is ready to help you!
Timing Summary
⏱️
Mixing
2 minutes
🎯
Application
10-15 min
from mixing
⏳
Sanding
4 hours
from application
🛁
Shower Use
8-12 hours
from final application
© 2024 ResinPro – Shower Fix Kit. All rights reserved.
Carefully following the instructions ensures a professional and long-lasting repair.
Reviews
Reviews
COD:
shower_var
ShowerFix Kit – Shower Tray & Bathtub Repair and Restoration Kit
€22,99
1

